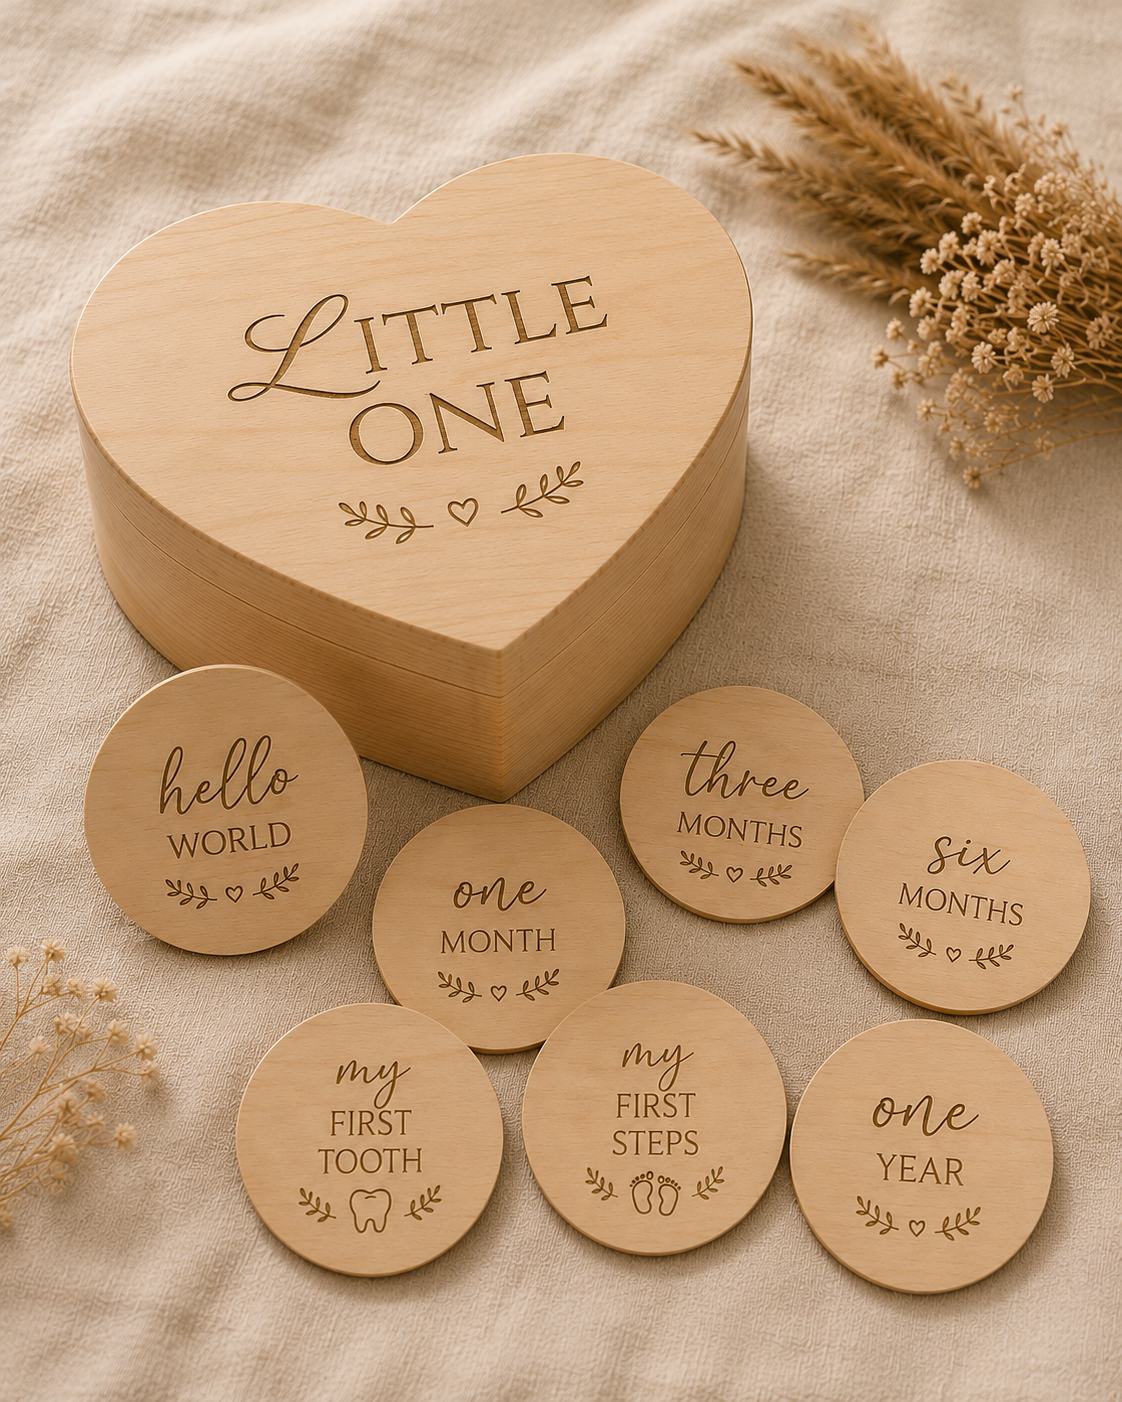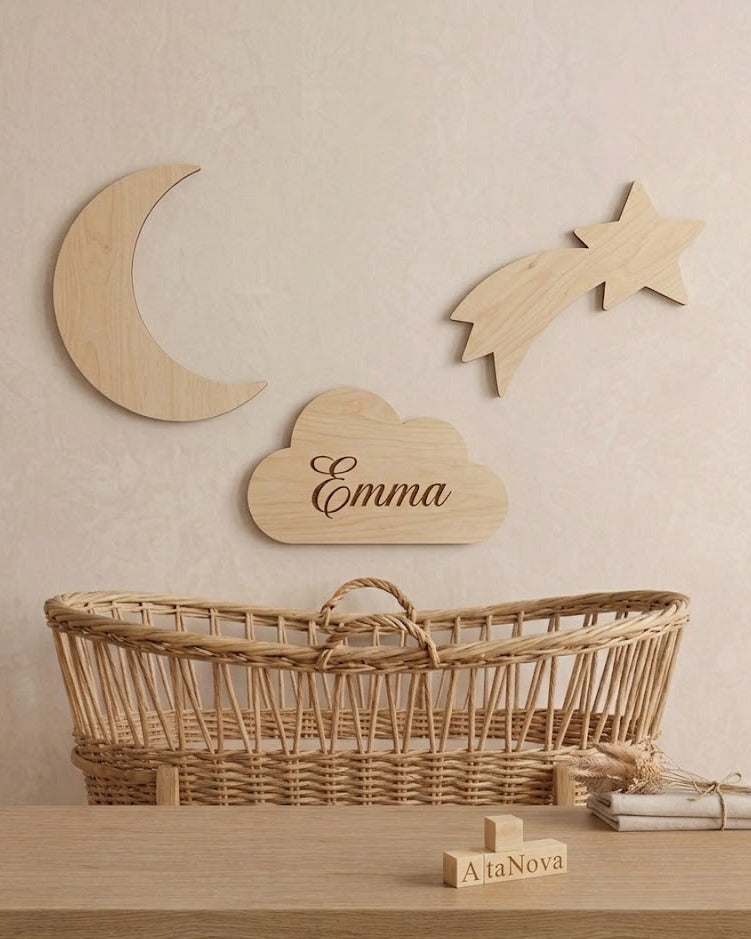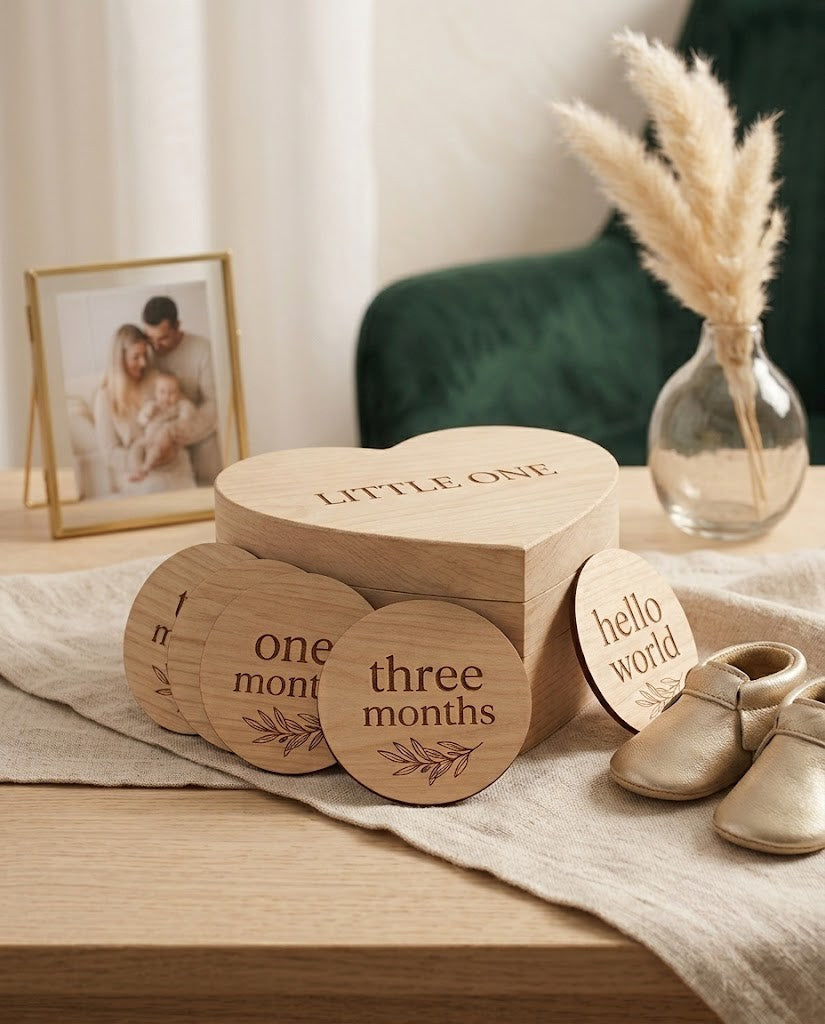
The easiest way to photograph baby milestones at home is to use one safe, repeatable setup: indirect window light, a simple background, the same camera position and the correct month marker in every frame. AtaNova Baby Milestone Discs are wooden monthly photo props made for this purpose. The set contains 12 laser-engraved birch plywood discs covering 1 Month to 1 Year. Each disc is approximately Ø 10 cm × 3 mm, giving the photograph a clear age marker without requiring a complicated studio scene.
You do not need professional equipment. A phone, a bright room and a prepared surface are enough. The priorities are safety, soft light, readable engraving and a consistent composition that makes the baby’s growth easy to see across all twelve photographs.
How to Photograph Baby Milestones at Home: The Basic Setup
Prepare the complete scene before placing the baby in position. This reduces the length of the session and lets the supervising adult focus on the baby rather than rearranging props.
- Choose one bright location. A room with a large window and enough floor space usually works best.
- Create a safe surface. Use a clean baby mat or a blanket laid flat on a firm floor-level surface, away from furniture edges, cords and unstable objects.
- Select the correct milestone disc. Check the month before the session and place the engraving toward the camera.
- Set the camera position. Decide whether the repeatable photograph will be overhead, slightly angled or seated when the child can sit independently.
- Take one consistent record photograph first. After that, capture closer details, expressions and candid moments.
This sequence gives you one reliable image for the month-by-month comparison, even when the rest of the session becomes spontaneous.
Use Indirect Natural Light
Soft window light is usually the most useful light for monthly baby photographs at home. Position the setup close to a window, but keep the baby out of strong direct sunlight. A thin curtain can soften bright light and reduce hard shadows.
- Turn off the camera flash.
- Turn off strong ceiling lights when they create a different colour from the window light.
- Place the baby with the face turned toward or slightly across the window, not directly away from it.
- Move the setup closer to the window before increasing digital brightness on the phone.
- Use the same side of the same window each month when possible.
Avoid placing the window directly behind the baby unless you deliberately know how to correct backlighting. When the brightest area sits behind the subject, the face and the engraving on the milestone disc can become too dark.
Choose a Background That Keeps the Baby and Disc Clear
The best background is not the most decorative one. It is the background that separates the baby, clothing and wooden milestone disc clearly enough for each element to remain readable.
- Use a plain blanket, fitted sheet or baby mat with little visual texture.
- Choose a colour that contrasts with both the clothing and the natural birch wood.
- Keep patterns small and limited when you want to use them.
- Remove loose cords, small decorative pieces and anything the baby could reach or pull.
- Use one or two supporting elements at most, such as a familiar soft toy or a seasonal detail placed safely outside the baby’s immediate reach.
Using the same background throughout the first year creates a stronger visual timeline. Using a different background every month can still work, but growth is easier to compare when the composition has at least one repeated element.
Place the Milestone Disc So the Engraving Is Readable
The milestone disc should explain the photograph immediately without covering the baby or becoming the centre of the composition.
- Place it beside the baby rather than under the head or body.
- Turn the engraved face directly toward the camera.
- Keep the full circular edge visible when possible.
- Leave a small visual gap between the disc and the baby’s clothing.
- Check that hands, blankets and soft toys are not covering the month wording.
- Keep the disc away from the baby’s mouth and remove it as soon as the photograph is complete.
For an overhead photograph, place the disc near the shoulder, waist or feet and choose the position that can be repeated safely. For a seated photograph, the disc can sit flat beside the child or be supported by an adult just outside the crop. Do not balance it on the baby or use an unstable stand.
Take Better Milestone Photos With a Phone
A phone camera is sufficient for clear home milestone photographs. The biggest improvements usually come from preparation and light rather than extra equipment.
- Clean the lens. Fingerprints create haze and reduce detail.
- Use the main 1× camera. Avoid digital zoom, which can reduce image quality.
- Tap the baby’s face to focus. Adjust exposure slightly if the skin or wooden disc appears too bright.
- Keep flash off. Move closer to the window instead.
- Use burst mode or Live Photo. Small changes in expression happen quickly.
- Hold the phone parallel to the surface for overhead photographs. This helps keep the disc circular rather than visually stretched.
- Check the edges before shooting. Make sure feet, hands and the complete disc are inside the frame.
Portrait mode can be useful for close-up images, but review the result carefully. Artificial background blur may remove part of the disc edge or soften the engraved wording. The standard camera mode is often more reliable for the main monthly record photograph.
Match the Pose to What the Baby Can Already Do Comfortably
The photograph should follow the baby’s normal abilities, not a pose copied from another image.
For Early Months
An overhead photograph on a safe floor-level surface is usually the simplest option. Keep the baby in a comfortable position and take the photograph while an adult remains within reach.
When the Baby Can Hold the Head Comfortably
A short supervised tummy-time image can add variety when tummy time is already part of the baby’s normal routine. Do not introduce it only for the photograph, and stop when the baby becomes uncomfortable.
When the Baby Can Sit Independently and Steadily
A seated photograph can show posture and personality more clearly. Use a familiar, stable floor surface and keep the supervising adult close. Do not use high chairs, baskets or unstable furniture as posing platforms.
During Crawling or Standing Stages
Do not force the baby to remain still. Place the milestone disc in a safe visible position and photograph the movement. A consistent monthly series does not require an identical pose; it requires a recognisable composition and month marker.
How to Keep Monthly Baby Photos Consistent
Consistency makes growth visible. You do not need to recreate every detail perfectly, but repeating a few fixed choices will make the twelve photographs feel like one complete first-year series.
- Use the same room and window.
- Use the same background or colour family.
- Choose one standard orientation: vertical or horizontal.
- Keep the camera at approximately the same height and distance.
- Place the milestone disc in the same area of the frame.
- Take the main photograph at a similar time of day when the light is stable.
- Use the same crop for the final twelve-image comparison.
- Save one reference photograph from the previous month on your phone before setting up the next session.
A small removable floor marker placed away from the baby can help you remember where to stand. The goal is not mechanical perfection. It is enough to create one repeated visual reference while allowing the child’s expression, movement and personality to change.
Use a Simple Monthly Shot List
Take the most important photograph first. Babies do not need to stay interested for a long session, so prioritise the image that completes the twelve-month record.
- The standard full composition: baby, complete milestone disc and repeated background.
- A closer portrait: face and upper body, with the month marker still visible.
- A detail photograph: hands, feet, hair, clothing or another small feature from that stage.
- A candid expression: smiling, stretching, looking toward a parent or reacting naturally.
- A wider context image: include more of the nursery, blanket or familiar home environment.
Stop when the baby needs feeding, changing, sleep or comfort. A short calm session produces more useful photographs than a long session built around completing an ambitious shot list.
Common Baby Milestone Photo Mistakes
Using Direct Flash
Direct flash can create harsh shadows, bright reflections and an unnatural difference between the baby and background. Window light is usually more flattering and easier to repeat.
Adding Too Many Props
Large toys, several blankets, signs and seasonal decorations can make the month marker difficult to find. Keep the baby and milestone disc as the primary elements.
Changing Every Part of the Setup
A new room, background, camera angle and crop every month can weaken the final comparison. Repeat at least the camera orientation, disc position and one background element.
Trying a Pose the Baby Cannot Hold Safely
Do not support the baby with unstable props or position the child beyond current abilities. The image should adapt to the baby, not the other way around.
Taking Only One Photograph
Expressions and focus can change between frames. Take a short sequence, then check sharpness before ending the setup.
Overediting the Final Image
Heavy filters can change skin tone, wood colour and the visual consistency of the series. Use small adjustments to brightness, crop and white balance, and keep the original file.
Edit, Name and Store the Photographs
A complete first-year series becomes easier to build when each month is stored in the same way.
- Keep the original photographs before editing.
- Select one main image and one or two supporting images each month.
- Apply similar brightness, colour temperature and crop to the main images.
- Name files by month and date, such as 03-months-2026-10-12.
- Save the final monthly images in one dedicated folder.
- Keep a second backup in another trusted location.
At the end of the first year, the twelve standard photographs can be printed as a grid, placed in an album or stored with physical first-year keepsakes.
Using AtaNova Baby Milestone Discs in the Photo Series
The AtaNova set contains 12 monthly discs covering 1 Month through 1 Year. Each disc is precision laser-engraved on 3 mm premium birch plywood and measures approximately Ø 10 cm × 3 mm. The natural wood grain can vary slightly from one set to another.
You can choose the discs on their own or select the option that includes a wooden keepsake box. Available product options also allow you to select the preferred text language. When a name, special wording or layout change is requested, a digital Design Proof is sent by email before engraving.
Each set is made to order in our Antwerp atelier. Production takes 1–2 business days and is included within the overall delivery promise of 3–5 business days after the order is placed. Review the current options on the Baby Milestone Discs product page, browse other personalised pieces in the Baby & Kids collection, or read How It Works for the ordering and approval process.
Safety and Care During the Photo Session
Baby Milestone Discs are decorative photo props and keepsakes. They are not toys or teethers.
- Always supervise the baby during the complete session.
- Prepare the camera, light and background before positioning the baby.
- Use a safe floor-level surface and keep an adult within reach.
- Do not allow the baby to chew, bite or suck the disc.
- Do not place the disc under the baby or balance it on the body.
- Remove the disc immediately after the photographs are finished.
- Wipe the wood gently with a soft, dry cloth and do not soak it in water.
- Store the discs away from excessive heat, moisture and humidity.
A Repeatable Photograph Matters More Than a Perfect One
The best baby milestone series is the one you can complete. Use a safe setup that takes only a few minutes to rebuild, keep the light and composition simple, and capture one standard image before experimenting with candid photographs.
The milestone disc identifies the month. The repeated background and camera position show scale. The baby’s changing posture, face and movement tell the rest of the story.
Frequently Asked Questions
What is the easiest way to photograph baby milestones at home?
Use one safe floor-level setup near a window, turn off the flash, keep the same background and camera angle, place the correct month disc beside the baby, and take one standard photograph before capturing candid images.
What lighting is best for baby milestone photos?
Indirect natural window light is usually the easiest light to use at home. Avoid strong direct sunlight, direct flash and mixed lighting from windows and ceiling lamps.
Can I take baby milestone photos with a phone?
Yes. Clean the lens, use the main 1× camera, tap the baby’s face to focus, keep the flash off and use burst mode or Live Photo to capture small changes in expression.
How do I make monthly baby photos look consistent?
Repeat the same room, background, orientation, camera height, distance and milestone-disc position. Take one standard record photograph each month before changing the pose or composition.
Where should I place the milestone disc?
Place the disc beside the baby with the engraving facing the camera and the full circular edge visible. Keep it separate from the baby’s face and mouth, and do not place it under the body.
How can I keep a baby milestone photo session safe?
Prepare the setup first, use a floor-level surface, keep an adult within reach, avoid unstable props, use only positions the baby can already hold comfortably, stop when the baby becomes uncomfortable and remember that the discs are not toys or teethers.
What is included in the AtaNova Baby Milestone Discs set?
The set includes 12 laser-engraved birch plywood discs covering 1 Month to 1 Year. Each disc is approximately Ø 10 cm × 3 mm, and you can choose Discs Only or Discs plus a Wooden Keepsake Box.