How to Choose the Best Photo for Line-Art Engraving
The best photo for line-art engraving is sharp, well lit and focused on one or two clearly visible subjects. Faces, eyes, hairlines, pet features and body outlines should be easy to distinguish from the background. A clean image gives the artist stronger visual information to simplify into recognisable lines, while blur, deep shadows and heavy compression can hide the details that make the portrait personal.
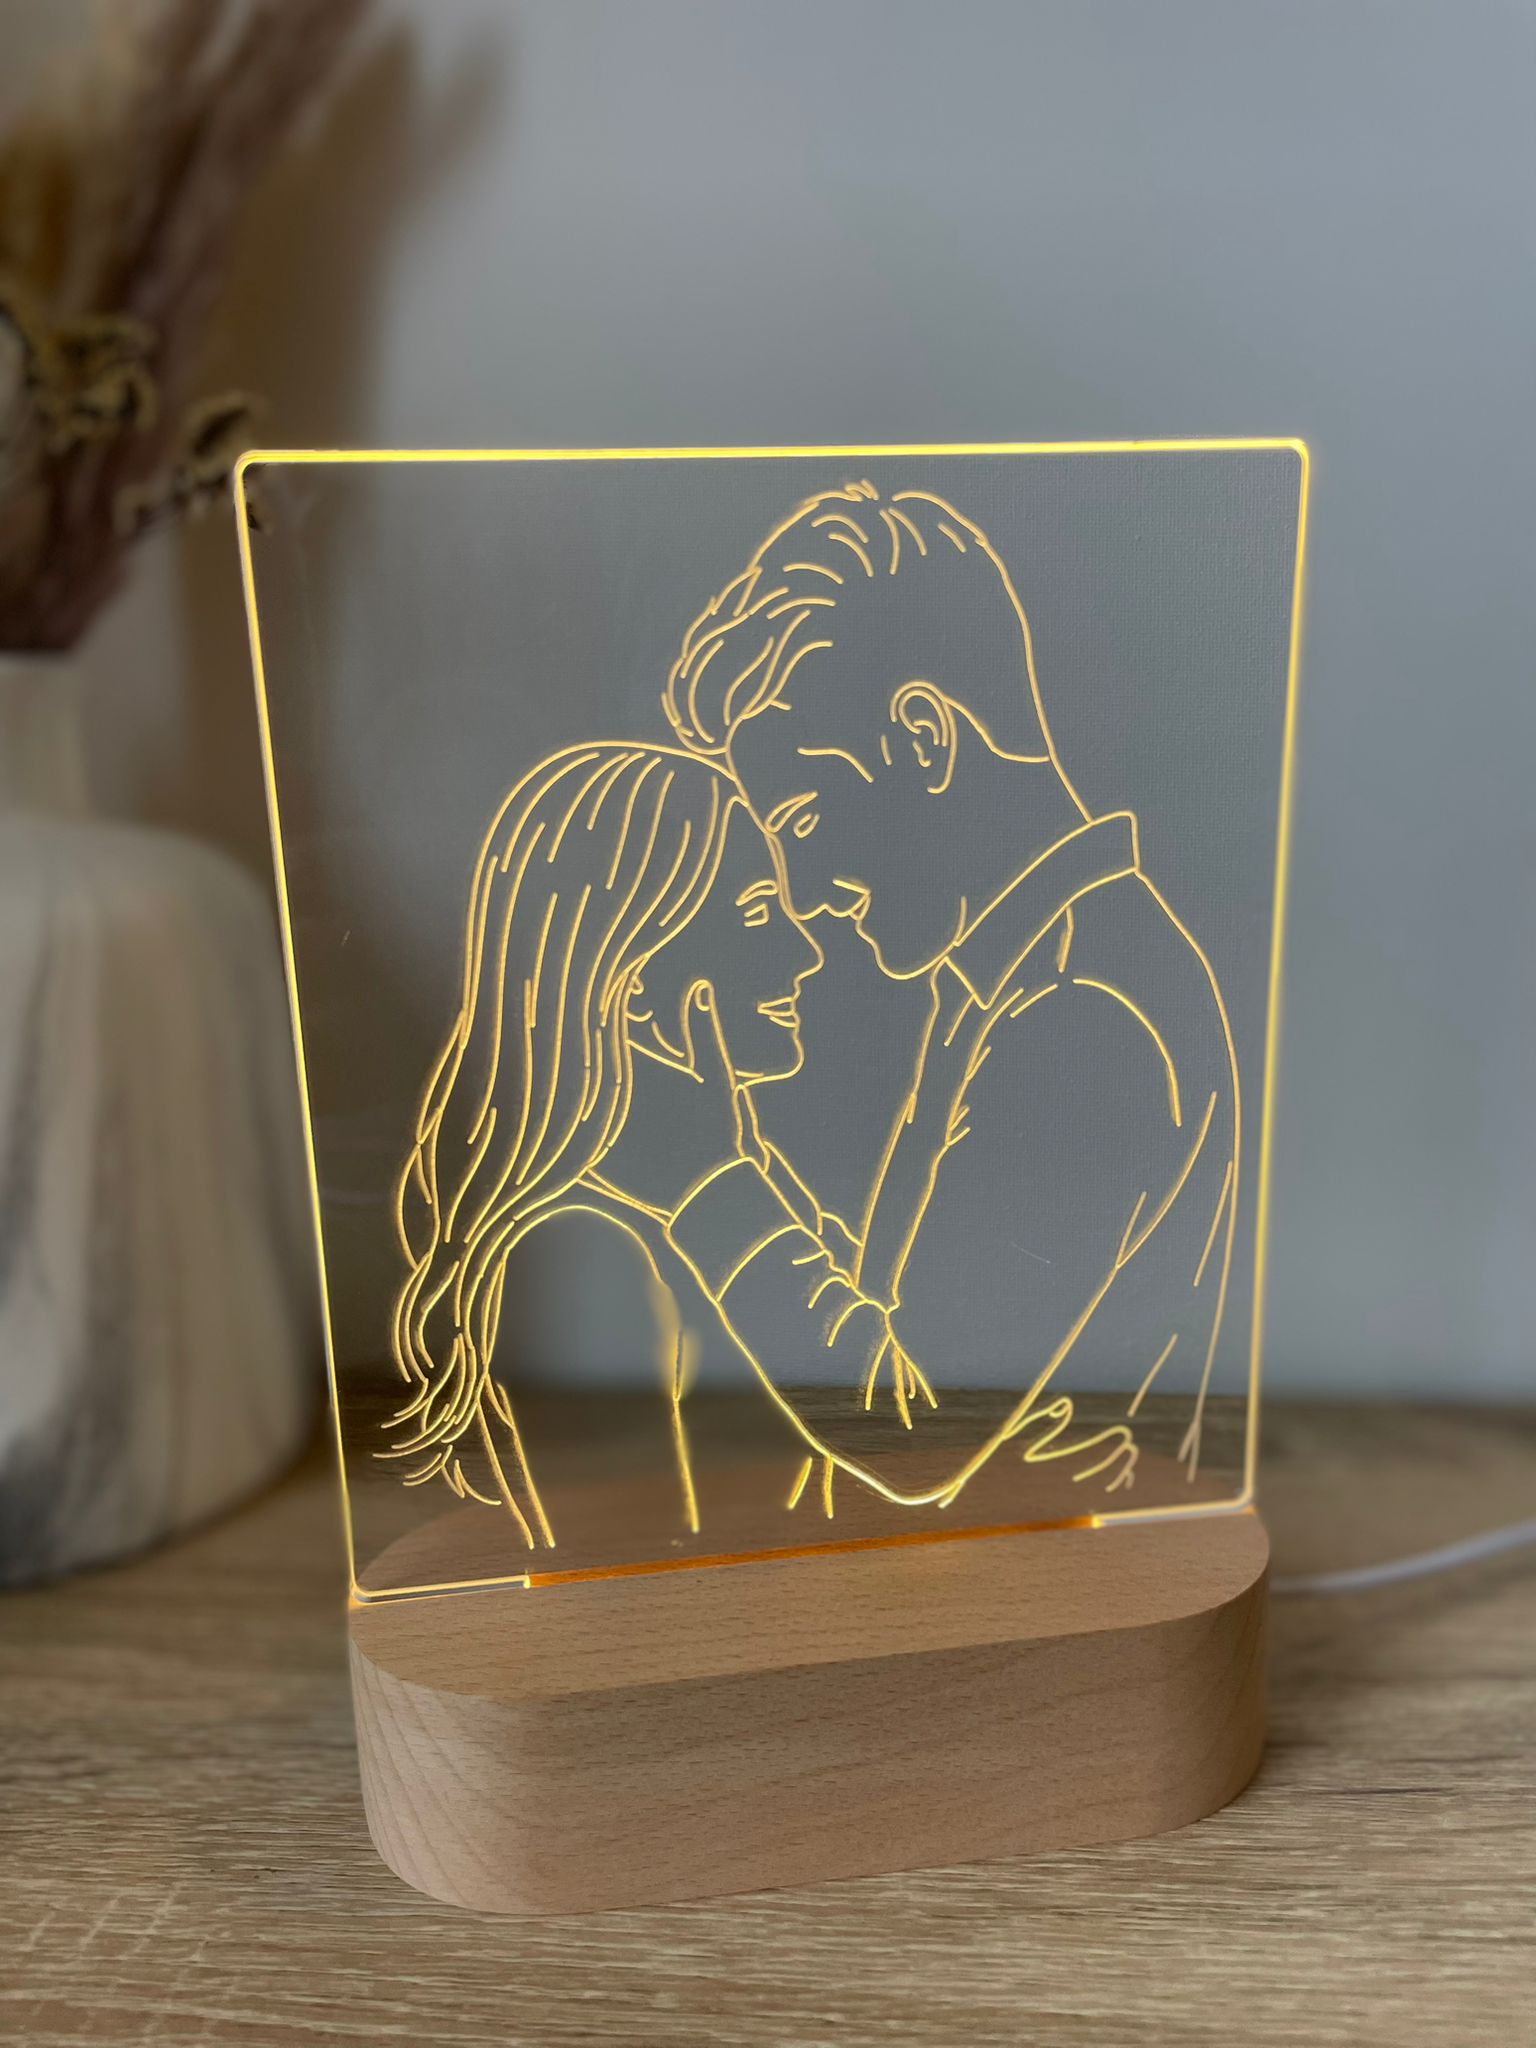
At AtaNova, photo-based products such as AuraLine™ and StoryFrame™ begin with your uploaded photograph. The main subject is transformed into clean line art, a digital Design Proof is sent by email, and the approved artwork is then laser-engraved on clear acrylic in our Antwerp atelier.
Quick Photo Checklist
- Use the original image rather than a screenshot or social-media download.
- Choose a sharp photo with the eyes and important features in focus.
- Prefer soft natural light or even indoor lighting.
- Make sure the main subject is large enough in the frame.
- Choose a simple background or clear separation from the background.
- Keep hands, faces, ears and important outlines visible where possible.
- For the cleanest composition, choose one or two main subjects.
- Avoid strong filters, extreme shadows and heavy digital effects.
Why the Source Photo Matters
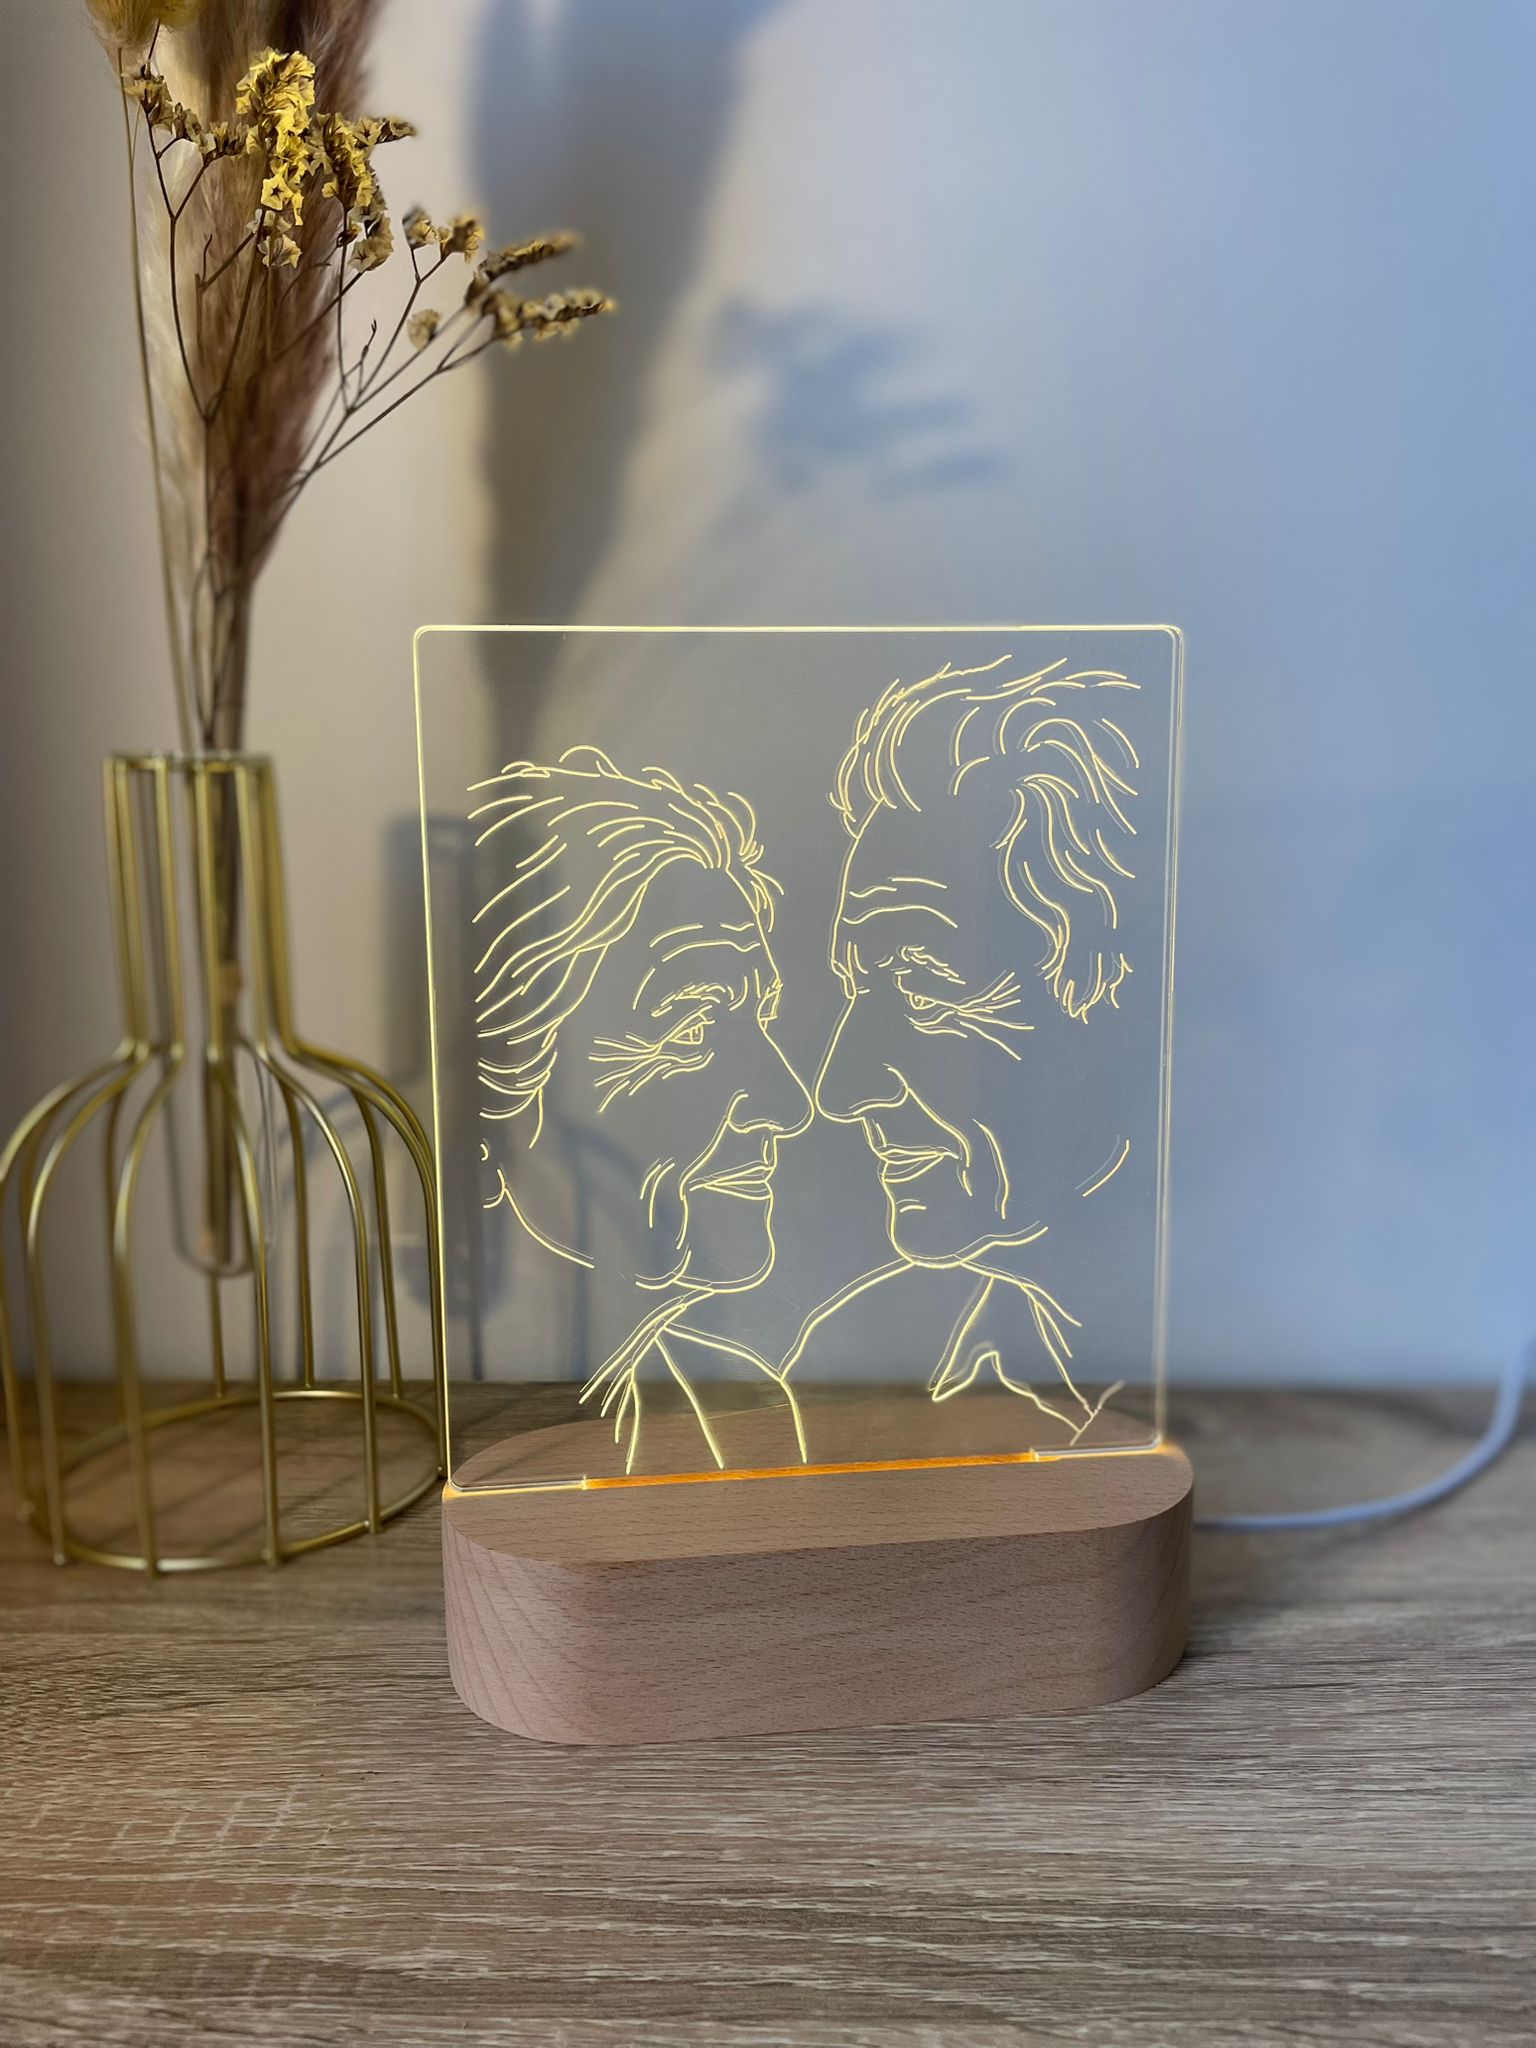
A line-art engraving is not a direct print of every pixel in your photograph. The image must first be interpreted: important contours are retained, distracting details are removed and the composition is simplified into lines that remain recognisable when engraved.
This means a colourful or professional-looking photo is not automatically the best choice. What matters most is whether the important shapes are visible. A simple phone photo can work very well when the subject is clear, while a dramatic image with heavy shadows may hide the eyes, jawline, hair, clothing or pet features needed to create balanced line art.
1. Choose Sharp Focus Over Perfect Styling
Sharpness is one of the most important factors. The photograph should clearly show the main face, expression or outline without motion blur. Slight softness may still be workable, but a strongly blurred image forces the artist to guess where features begin and end.
Good signs
- The eyes, nose, mouth and hairline are easy to identify.
- The subject does not look smeared when you zoom in.
- Pet eyes, ears, nose and fur outline remain visible.
- Hands and fingers are distinguishable when they are important to the pose.
Photos to avoid
- Images taken while the camera or subject was moving.
- Photos where the camera focused on the background instead of the person.
- Very small subjects enlarged from a distant group photo.
- Images that become blocky or pixelated as soon as they are opened full size.
2. Use Even Light That Reveals the Features
Soft, even lighting normally produces the clearest source image. Natural daylight near a window often works well because it reveals facial features without creating hard shadows. Outdoor photos can also be suitable when the face is not hidden by direct sunlight or deep shade.
Strong backlighting is more difficult. When a bright window, sunset or lamp is behind the subject, the person may become a dark silhouette. Silhouettes can work for a deliberately minimal outline, but they usually provide less facial detail for a personalised portrait.
Look for
- Both sides of the face are visible.
- The eyes are not lost in shadow.
- White clothing does not disappear into a bright background.
- Dark hair or dark fur remains separate from the background.
3. Make the Main Subject Large Enough
The most meaningful person or pet should occupy a useful part of the photograph. A distant subject contains fewer visible details, even when the file itself is large. Cropping can improve composition, but it cannot restore features that were never captured clearly.
As a practical check, open the image on your phone and zoom in on the subject. If the face still looks clear and natural, the photo is usually a stronger candidate. If the face becomes a few indistinct pixels, choose a closer photograph.
4. Keep Important Outlines Visible
Line art depends on recognisable edges. Choose a photograph where the features that define the subject are not hidden behind other people, objects, hair, hands or deep shadow.
A partial profile, embrace or candid pose can still work beautifully. The question is not whether the subject faces the camera, but whether the visible shapes create a clear composition. A forehead touching another forehead, a hand on a shoulder or a pet looking sideways can become a strong engraving when the outlines are distinct.
Check before uploading
- Are both faces visible enough to recognise?
- Are glasses reflecting so much light that the eyes disappear?
- Does a hat cover most of the face?
- Is the pet's muzzle clearly separated from its fur?
- Are important parts of the pose cut off by the edge of the image?
5. Prefer Clear Subject-to-Background Separation
A simple background is helpful because it reduces visual noise, but a plain studio wall is not required. The subject can be photographed at a wedding, outdoors, at home or during an everyday moment. The main requirement is that the person or pet remains easy to separate from what is behind them.
Busy backgrounds become problematic when similar colours, shadows or overlapping objects merge with the subject. Tree branches across hair, patterned wallpaper behind clothing or furniture crossing the body can make the outline less obvious.
Do not aggressively erase the background before uploading unless you are experienced with image editing. Rough cut-outs can remove hair, ears, clothing or other useful details. Sending the original photo gives the artist more information to work with.
6. One or Two Main Subjects Usually Create the Cleanest Result
Line-art engraving works best when the composition has a clear visual priority. One person, one pet, a couple, a parent with a child or two pets can usually be simplified without losing the character of the image.
Larger groups may still be possible, but every additional subject reduces the space available for individual facial detail. In a crowded group photo, faces are often smaller, people overlap and background elements compete with the main moment. For the cleanest and most elegant result, choose one or two principal subjects whenever possible.
7. Upload the Best Available File
Use the original image from the phone, camera or cloud library whenever possible. Messaging apps, social platforms and repeated screenshots can compress an image and remove fine detail. The photo may look acceptable on a small screen while containing too little information for careful line-art preparation.
Best file habits
- Upload the original JPG, PNG or supported image file.
- Avoid taking a screenshot of a photo that already exists in your gallery.
- Download the original file from cloud storage instead of copying a preview.
- Do not add beauty filters, stickers, text or artificial blur.
- Keep the colour version even when the final design will be line art.
High resolution helps, but resolution alone does not guarantee a good result. A large blurry photo remains blurry. Clear features, strong subject separation and useful composition are more important than an impressive file-size number.
Which Photos Work Best for Different Subjects?
Couples and anniversary photos
Choose a photograph where both people are clearly visible and positioned close enough to form one balanced composition. Natural interaction often works better than a stiff pose: looking at each other, holding hands or standing shoulder to shoulder can create recognisable connected lines.
Wedding photos
Portraits, first-look moments and close ceremony images are usually stronger than wide venue shots. Check that veils, bouquets and decorative backgrounds do not hide the faces. Fine fabric detail may be simplified, so prioritise expression and silhouette over every small decorative element.
Family photos
A parent and child or two closely grouped family members often produce cleaner line art than a large family portrait. When several people must be included, select the image with the least overlap and the clearest faces.
Baby and child photos
Use a calm, well-lit photograph with the face unobstructed. Avoid strong motion blur from active play. A simple seated portrait, parent-and-child moment or close sleeping pose can work well when the face and body outline remain clear.
Pet photos
Pet photographs work best when the eyes, ears, nose and head shape are visible. For dark-coated animals, choose a lighter background. For light-coated animals, avoid bright white backgrounds that make the fur outline disappear. Photos taken at the animal's eye level often create a more expressive portrait.
Older printed photographs
An older photograph can still be meaningful and usable. Scan it as clearly as possible or photograph it straight on in even light. Avoid reflections, curved paper, glass glare and strong perspective distortion. Do not over-edit scratches or contrast before submitting; preserving the original facial information is more important.
Are Imperfect Photos Always Rejected?
No. A photograph does not need to be professionally shot. A meaningful candid image may be more valuable than a technically perfect portrait, and some limitations can be managed during the design process.
However, line-art preparation cannot reliably recover a face hidden by darkness, reconstruct a missing part of the head or create accurate details from severe blur. When choosing between two meaningful photos, select the one that provides more visible information about the subject.
Should You Edit the Photo Before Uploading?
Usually, only minimal editing is needed. Basic cropping or a small exposure adjustment is acceptable, but heavy filters and artificial sharpening can create false edges. Background-removal tools may cut into hair, clothing or pet fur, while portrait filters can change the features the final line art should preserve.
The safest approach is to upload the cleanest original file. The composition can then be simplified specifically for engraving rather than being limited by an earlier automated edit.
Choosing Between AuraLine™ and StoryFrame™
The same photo-quality principles apply to both products, but the final presentation is different.
- AuraLine™ — Line Art Lamp: a minimal freestanding design with a square clear acrylic panel and an oval solid wood USB LED base. It is especially suited to a focused portrait, couple, child or pet composition.
- StoryFrame™ — Framed Line Art Lamp: a framed presentation with a 23 × 17 cm clear acrylic panel and solid wood USB LED base. Its format can accommodate a broader sense of scene while still benefiting from a clear main subject.
Both products are available with 3-Color Light or RGB. Your uploaded image is transformed into line art and reviewed through a digital Design Proof before engraving. You can also explore the complete personalised lamp collection.
What to Check in the Design Proof
The Design Proof is the point where the photograph becomes a proposed engraving. Review the preview carefully before approving it.
- Check that the correct people or pets are included.
- Look at the overall balance and spacing.
- Confirm that important facial or body features remain recognisable.
- Check names, dates and any optional short message.
- Reply before approval when a small adjustment is needed.
Engraving begins after approval, so this review protects both the visual composition and the personalised details. The full ordering process is explained on the How It Works page.
A Simple Final Decision Test
When comparing several photos, choose the image that answers “yes” to the most questions below:
- Can I recognise the subject immediately?
- Are the eyes, expression or defining pet features visible?
- Is the image sharp when I zoom in?
- Is the lighting even enough to show the outlines?
- Does the subject stand apart from the background?
- Are one or two main subjects given enough space?
- Do I have the original file rather than a screenshot?
The best source photo is not necessarily the most formal photograph. It is the one that shows the important person, pet or moment clearly enough to be simplified without losing its identity.
Frequently Asked Questions
What type of photo is best for line-art engraving?
A sharp, well-lit photo with one or two clearly visible subjects usually produces the cleanest line art. The face, expression and main outline should be easy to distinguish from the background.
Can a low-resolution photo be used?
Sometimes, but the result depends on how much real detail remains in the image. A small or compressed photo may hide facial features and edges. Upload the original file whenever possible.
Can I upload a screenshot?
An original image is preferable because screenshots often reduce resolution or include unwanted interface elements. Use a screenshot only when the original file is no longer available.
How many people can be included?
One or two main subjects normally create the clearest and most balanced engraving. Larger groups may be possible, but individual faces can lose detail when the composition becomes crowded.
Can I use a pet photo?
Yes. Choose a photo where the pet's eyes, ears, nose and head outline are visible. A background that contrasts with the coat colour helps define the shape.
Can an old or black-and-white photo work?
Yes, provided the face and important outlines remain visible. Scan the photograph clearly or photograph it straight on in even light without glare.
Does the background need to be removed before upload?
No. A simple background helps, but you do not need to remove it yourself. Rough automated cut-outs can delete useful hair, clothing or pet details, so the original image is usually better.
Will I see the line art before engraving?
Yes. For AuraLine™ and StoryFrame™, AtaNova sends a digital Design Proof by email before engraving. You can approve it or reply with a small adjustment request.